Last Updated on
Custom Pin It or Pin This buttons are a great way to add a personal touch to your website or blog.
Like many small businesses, I use Pinterest as a way to drive targeted traffic back to my website. A solid Pinterest marketing strategy will help you land more clients, get more customers, grow your email list and so much more!
Pin It buttons are the perfect way to encourage people to pin images from your website while staying on brand.
Because let’s be honest, the red Pin It button probably doesn’t match your color palette and you want to stay on brand.
In this post I’m going to walk you through step by step on how you can add your very own custom Pin It buttons to your WordPress website.
I’ve also created 50+ free downloadable Pin It buttons for you to choose from, which you can find at the end of this post!
Benefits of Having A Custom Pin It Button
A custom Pin It button is a great way to strengthen your website’s brand, stand out and encourage visitors to pin images from your site.
Plus, when you design your own Pin It button, you can be confident that nobody else will have the same design.
How to Make Your Pin It Buttons
It’s easy to make your own Pinterest Pin It button for images on your website.
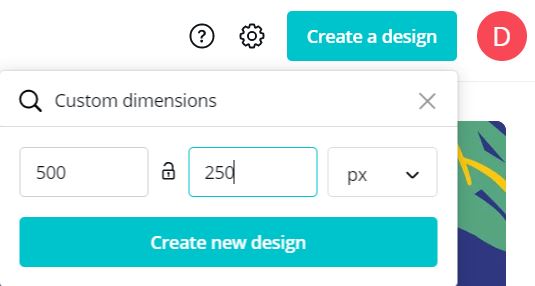
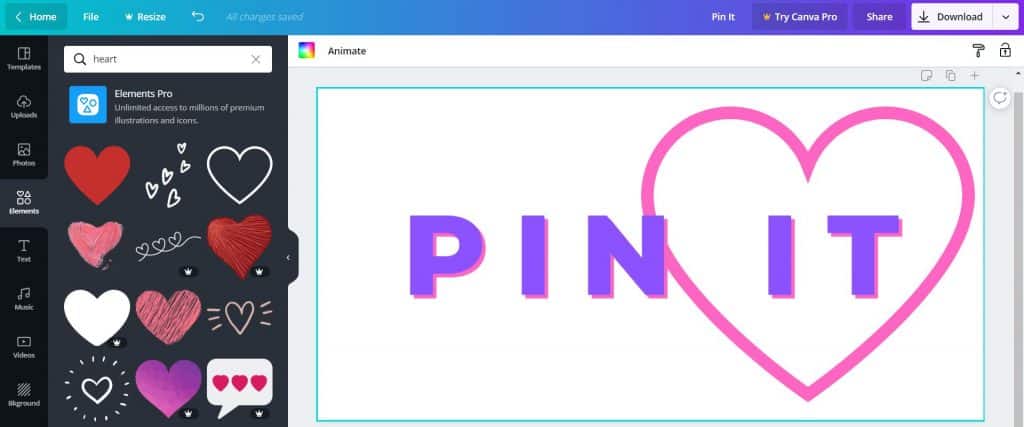
First, head to Canva and click “Create a Design”. From there, you’ll be able to set custom dimensions for your Pin It buttons.
I recommend something like 500px by 250px if you want a rectangular Pin It button, or 500px by 500px if you want it square or circle.
Now you will have a blank canvas that you can use to design your own Pinterest share button!
After you’ve created your Pin It button, download it so you can upload it to your website.
How to Add Your Custom Pin It Button to Your Website
Adding your own custom Pin It button is incredibly easy if you are using WordPress.
1. Download the jQuery Pin It Button for Images plug in
This is a free plug in and works great with your website. If you already have a plug in that allow you to upload your own custom Pin It buttons, skip to the bottom of this blog post so you can download your custom button.
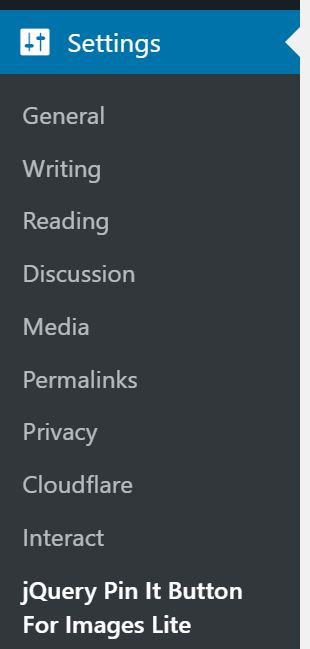
2. Go to Settings > jQuery Pin It Button
Along the lefthand side of your dashboard, go to “Settings” and then click on “jQuery Pin It Button for Images Lite”
Now you’ll be in the right spot to upload your custom Pin It button and customize where you’d like it to show.
To do that, head into the “Visuals” tab along the top:
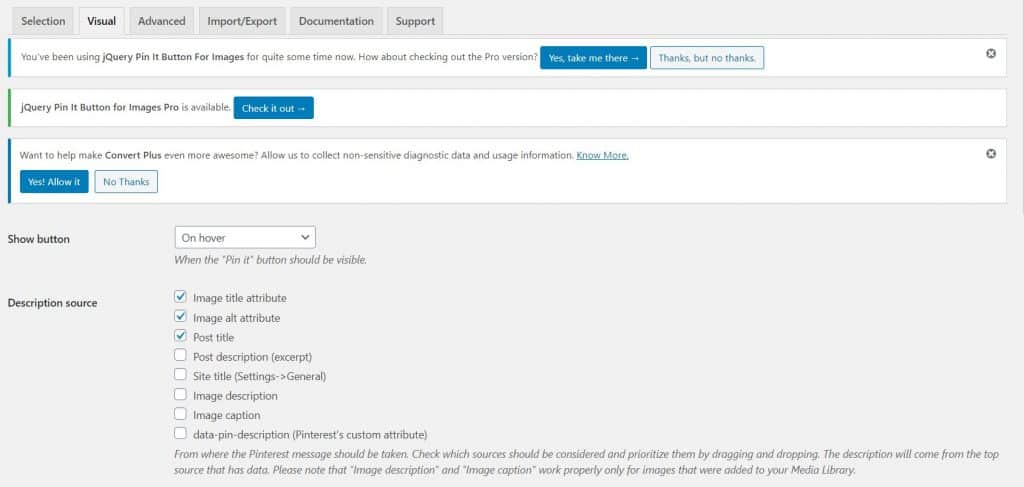
3. Upload Your Custom Pin It Image
Once in the visual tab, scroll to the section titled Pin Image and select custom.
Upload your Pin It image.
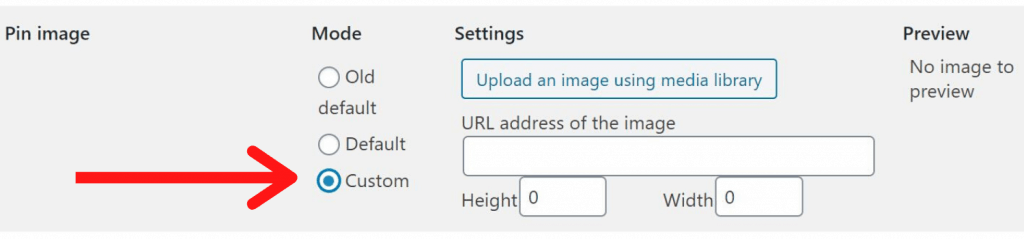
In this space you can also adjust the height and width of your Pin It button. If you notice the button is too large, come to this place to change the dimensions.
4. Choose Where Your Custom Pin It Image Should Show
After you’ve uploaded your custom Pin It button, you can take it one step further and choose precisely where you’d like your Pin It button to show on your website.
You have three choices:
- Show on hover
- Show always on touch devices
- Show always no matter the device
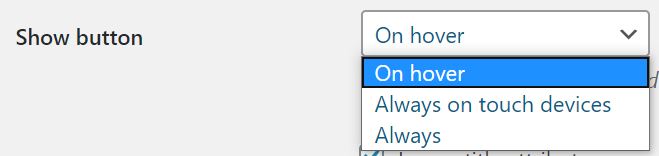
Most website prefer the option “on hover” as it doesn’t obstruct the image.
5. Adjust Transparency of Pin It Image
You can adjust whether or not your Pin It button is transparent. Personally, I think 0.2 is perfect, but play around and see which suits your brand.

6. Choose Your Pin It Image Location
You have the choice to place your image in the top left, top right, bottom left, bottom right or middle of your image.
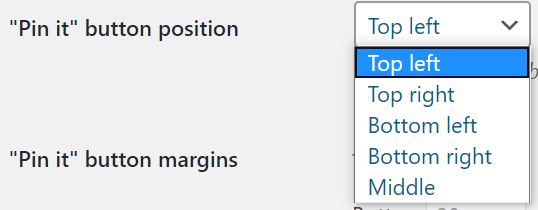
I prefer the button to be in the center or the top left, but it’s totally up to you where you place your custom button.
7. Disable Custom Pin It Button on Certain Pages
Next, head into the “Selection” tab to fine-tune where your Pin It button should be displayed.
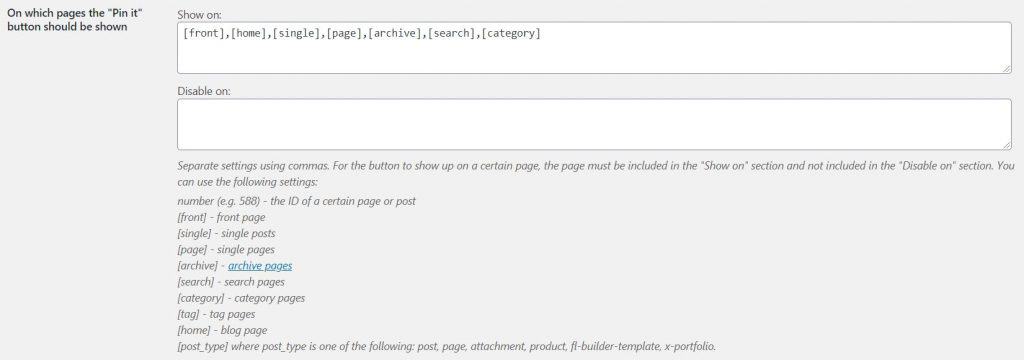
You might want the button to display on all pages and if so, you can leave this as it. However, if you want to disable the button on certain pages, you can do so here!
You can choose to enable or disable through page ID’s or the list of page names provided by the jQuery plug in.
8. Troubleshooting jQuery Custom Pin It Plug In
Is your Pinterest button not working through jQuery?
jQuery’s documentation will help you troubleshoot problems and figure out why your Pinterest button is not working.
Pro tip: If you are using Cloudflare, you will need to make sure you check out the above link and disable any minifying you are doing to JavaScript, as well as clear all your caches. Cloudflare and the jQuery Pin It plugin sometimes don’t work well together, but disabling the minifying will solve that problem.
Happy Pinning!
This article may include affiliate links. As an Amazon Associate I earn from qualifying purchases.

Dana Nicole is an award-winning freelance writer for MarTech/SaaS who was rated one of the best SaaS writers by Software World. She specializes in writing engaging content that ranks high in search engines and has been featured in publications like Semrush, ConvertKit, and Hotjar.
Dana holds a Bachelor’s degree in Business Administration and has over 15 years of experience working alongside national brands in their marketing departments.
When Dana’s not working, you can find her dancing en pointe, cooking up new recipes, and exploring the great outdoors with her two big dogs.