
Last Updated on
Setting up Google Analytics is a must if you are hoping to improve your website stats! If you’ve just got your website going, your next step will be to set up some kind of analytics so you are able to track your visitors and see where you can improve.

Even if you don’t plan to get too far into your analytics, knowing how many visitors you are getting each month and how much time they are spending on your website can be super beneficial.
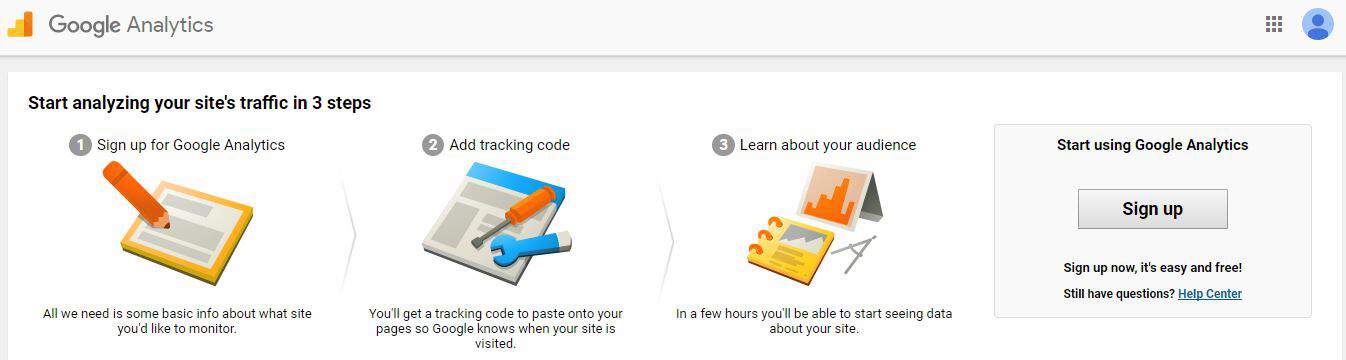
Follow these easy step-by-step instructions to get set up!
Sign Up
Your first step is to sign up. Head over to https://analytics.google.com/analytics/web/ and sign in with your email.
Next, you will want to create your Google Analytics account by clicking “Sign Up” on the next page.
The next page you will be brought to has some information you need to fill out about your website:
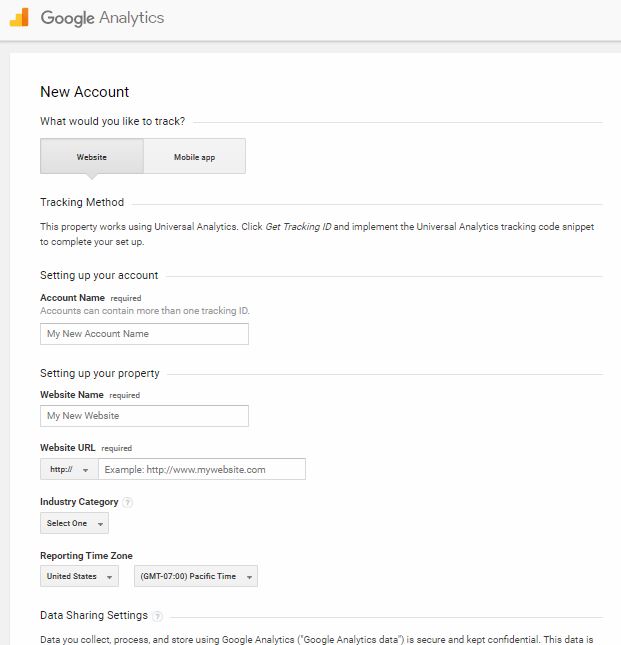
Account Name: Fill in the account name. This can be anything, but I usually just name is the name of the website so it’s clear what the account is (in case you ever add more than one).
Website Name: Enter your website URL or the name of your website.
Website URL: Enter your website URL here and make sure you select http or https depending on which you use. If you are unsure, go to your website and look in the URL bar to check whether you use “HTTP” or “HTTPS”.
Industry Category: Try and find a category that reflects your website. Sometimes you might not find one and that’s ok. This doesn’t impact your analytics.
Reporting Time Zone: This helps you accurately see when people are on your page and view your current analytics.
Data Sharing: You can select as many as you would like – this part is totally up to you.
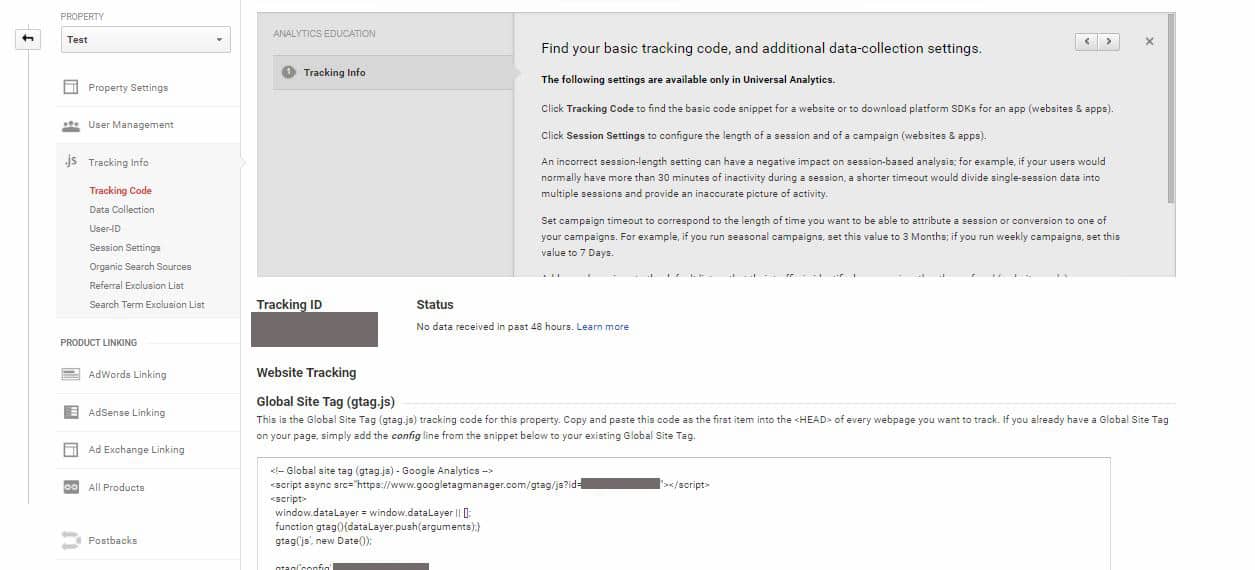
Now, click the blue button to get your tracking ID. You will first have to agree to the terms and conditions. After that, you will be brought to a page with your new tracking code (I have greyed this one out so you don’t get this one and yours mixed up!).
Now, there are a few different ways to go about this. I’ll talk about the different ways below.
Use The Google Analytics Plugin For WordPress
A quick and incredibly easy way is to use the Google Analytics plugin for WordPress. Just download the plugin, and simply enter your unique Google Analytics tracking ID.
You can find your tracking ID listed under “Tracking ID” (where I have a grey box pictured above). The ID will start with “UA-” and is unique to each user.
Add Google Analytics To Your functions.php File
Only use this method if you are confident editing your functions.php file (which could break your site if done wrong). Also ensure you are editing your child functions.php.
Add in the following code:
<?php /* Add Google analytics tracking to your website */

add_action('wp_head', 'ga');

function ga() { ?>

<script>

(function(i,s,o,g,r,a,m){i['GoogleAnalyticsObject']=r;i[r]=i[r]||function(){ (i[r].q=i[r].q||[]).push(arguments)},i[r].l=1*new Date();a=s.createElement(o), m=s.getElementsByTagName(o)[0];a.async=1;a.src=g;m.parentNode.insertBefore(a,m) })(window,document,'script','https://www.google-analytics.com/analytics.js','ga');

ga('create', 'UA-XXXXXXXX-X', 'auto'); //Replace UA-XXXXXXXX-X with your Google Analytics ID

ga('send', 'pageview');

</script>

<?php }
And that’s it! Nice and simple!
Have Your Developer Help You
If you are still unsure, reach out to your designer or developer to help you out.
Check To See That Your Google Analytics Is Working
Your Google Analytics can take 24 hours to begin receiving information. If you want to double check that your tracking ID is set up properly, add the Google Tag Assistant extension onto Chrome and visit your website!
Once on your website, click on the tag in the right corner of your browser and enable. If a tag is visible or not working, this extension will tell you.
And that’s it! You are now ready to start analyzing your analytics!
This article may include affiliate links. As an Amazon Associate I earn from qualifying purchases.

Dana Nicole is an award-winning freelance writer for MarTech/SaaS who was rated one of the best SaaS writers by Software World. She specializes in writing engaging content that ranks high in search engines and has been featured in publications like Semrush, ConvertKit, and Hotjar.
Dana holds a Bachelor’s degree in Business Administration and has over 15 years of experience working alongside national brands in their marketing departments.
When Dana’s not working, you can find her dancing en pointe, cooking up new recipes, and exploring the great outdoors with her two big dogs.